| Info |
|---|
Support for displaying CxSCA scan results in CxSAST is available from CxSAST 9.0 HF19. Make sure to always have the latest available hotfix installed. |
To enable users allow users to easily compare scan results generated with scans by two different engines, it is now possible to display CxSCA results in the summary page of CxSAST. To display the CxSCA results in CxSAST, do the following:
1. Enable the option by editing the IsScaEnabled feature flag in the database.
2. Enable your user to log in to CxSAST and CxSCA by setting up the Primary Access Control.
3. Define the CxSCA URL and the tenant name in CxSAST.
4. To view scan results of CxSCA in CxSAST, log in to CxSAST and, from the menu, select Dashboard > Projects State.
Enabling Displaying CxSCA in the Database
You have to first enable this option in the database as follows:
...
4. Navigate to IsScaEnabled and set it to true.
Enabling Access Control to Authenticate Users for CxSAST and CxSCA
Secondly, you have to enable Access Control to authenticate users for CxSAST and CxSCA at the same time by setting up the Primary Access Control.
To enable the Primary Access Control feature:
1. Go to the CxSCA Portal.
...
4. Continue with the configuration as explained here.
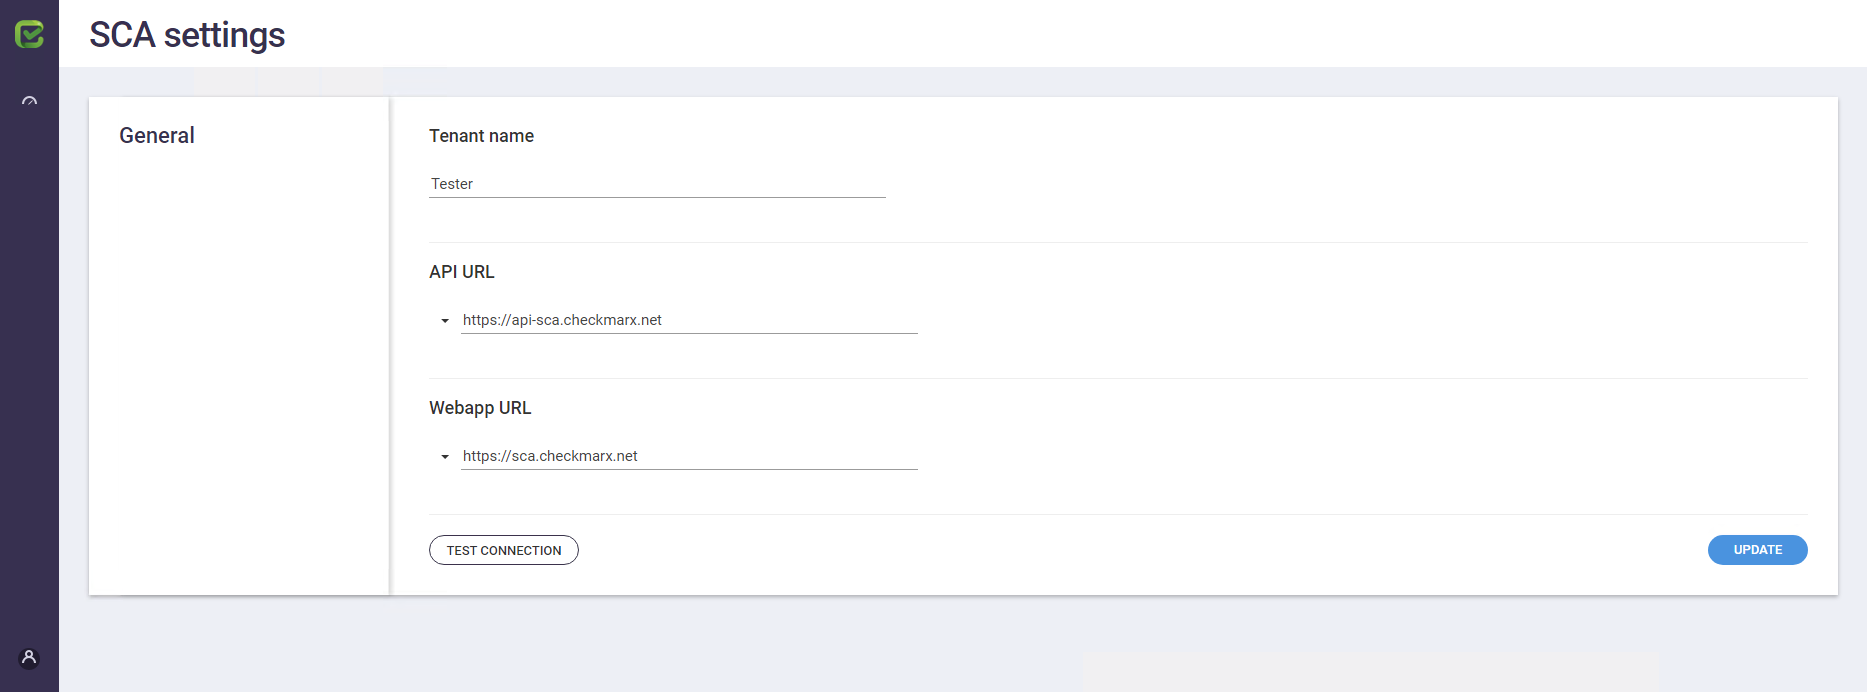
Defining the CxSCA Properties in CxSAST
By default, CxSAST displays the CxOSA settings on the dashboard, if the license for CxOSA was accepted. Users can choose to display CxSCA results in this space instead. To do so, you have to define the CxSCA URL and the tenant name in CxSAST as follows:
1. In CxSAST, from the menu, go to Settings > Application Settings and select SCA Settings from the menu.
| Info |
|---|
If OSA Settings is displayed instead, this feature has not been enabled in the database. |
...