Branching and Duplicating Existing Projects (v9.3.0)
CxSAST gives you the capability to branch or duplicate an existing project and have the new project inherit all of the issues, comments and dispositions from the source project. Once the project has been branched or duplicated, you can treat it as a separate project with separate issues to manage. Projects are duplicated or branched as follows:
Duplicate Project - creates a new project based on the settings of the existing one and also copies the following set of properties:
- Preset
- Team
- Exclusions
- Scheduling
- Advanced Actions (email notifications on pre-scan, post-scan and scan failure).
Branch Project - similar to copying a project, except that it copies the following set of properties:
- Preset
- Team
- Last scan from the source project with all results and remarks.
When branching a project, the branch must be started from the last successful scan. Successful scan means the ‘last real scan’ that was performed, instead of an attempted scan, which changed the date of the scan start, but was never performed because there was no change in the code.
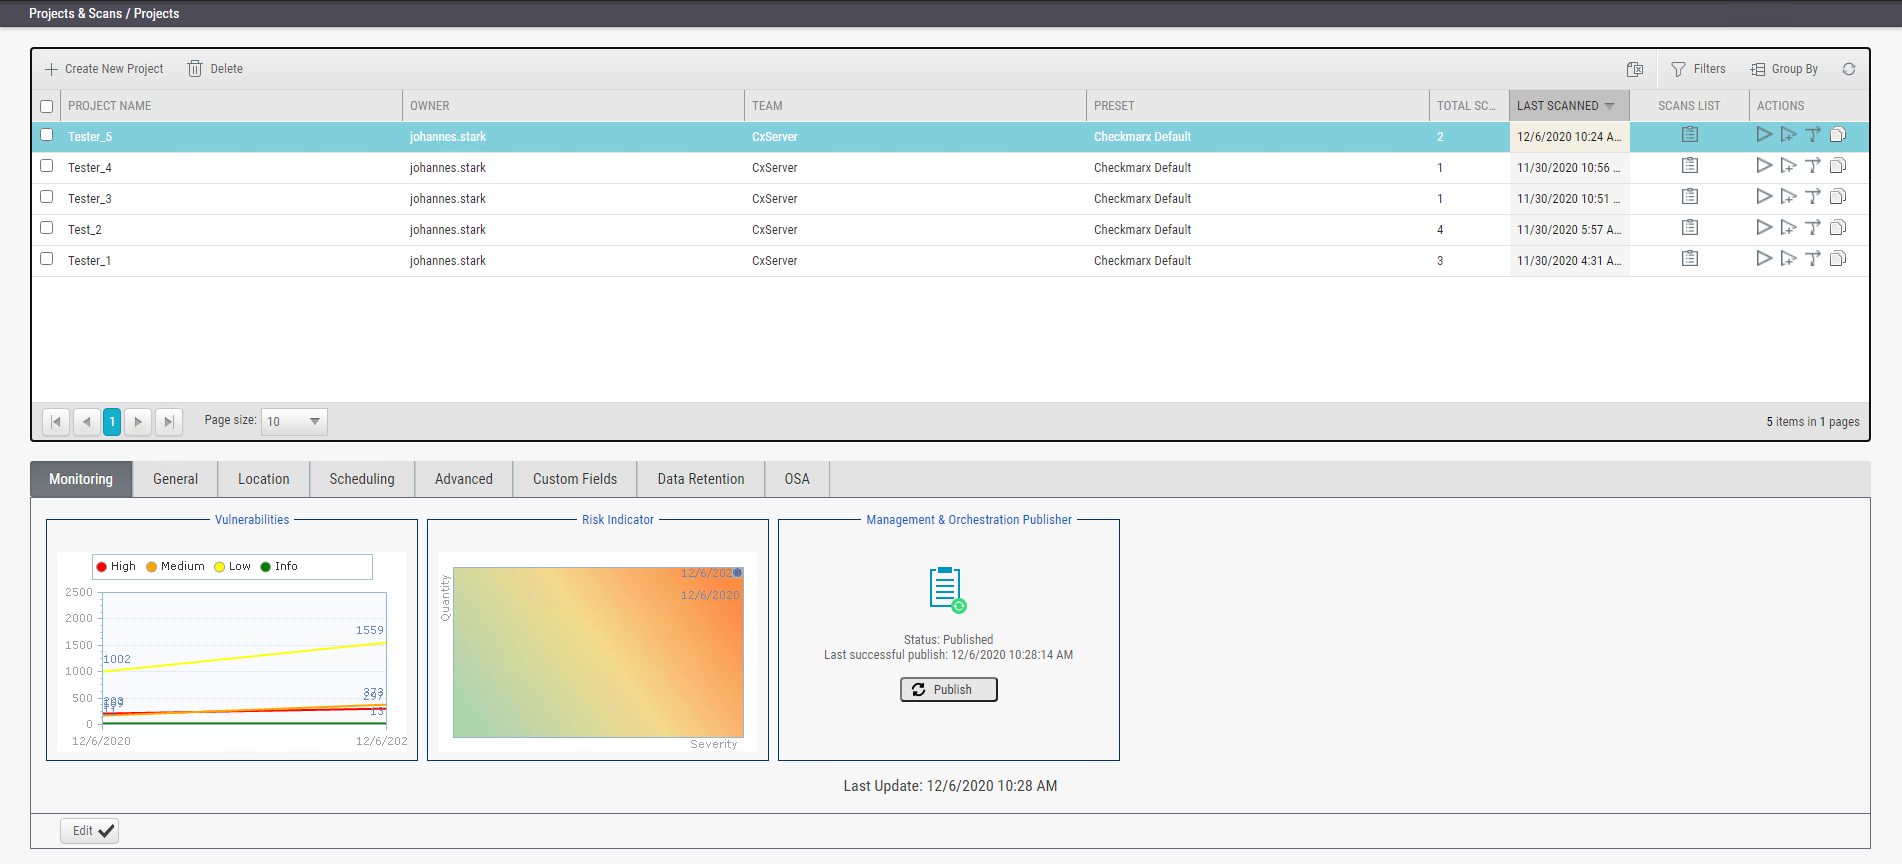
- Go to Projects & Scans and select Projects.
These instructions guide you through the workflow of branching a project. For further information on parameters, refer to the instructions on creating a new project.
1. Select the desired project from the list and click Branch Project ![]() to start.
to start.
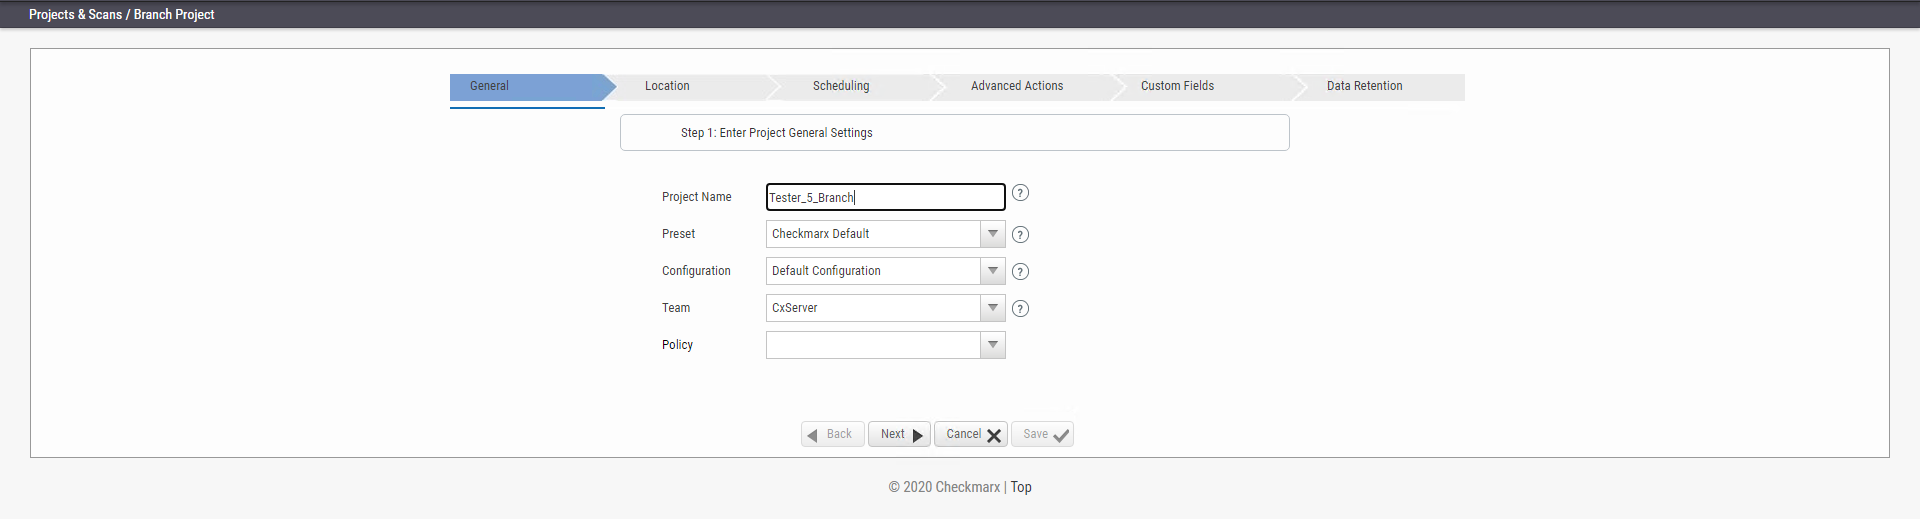
2. Assign a name that indicates that it is a branch to your selected project.
3. Click <Next> to continue.

4. Keep the source set as for the original project or define the new location of the same source code.
The source code in the project branch must be the same as for the original project, although it can be in a different location.
5. Do one of the following, depending on whether you wish to reconfigure the email notification settings:
- If you don't intend to reconfigure the email notification settings. Click <Save> to generate the branch.
- If you wish to configure or reconfigure email notification settings, click <Next> to continue the wizard. The Scheduling dialog appears, but settings are unavailable as the branch uses the original project settings.
6. Click <Next> again to access the Advanced Actions dialog.
7. Define the email address for notifications and click <Next> to continue. The Custom Fields dialog appears with the settings for the original project, which cannot be modified.

8. Click <Next> again to define the number of latest scans to keep in the Data Retention dialog.

9. Define Data Retention settings and click <Next>.
10. Once complete, click <Save> and then <OK> to start branching the project.

You are notified once the branching has been completed.
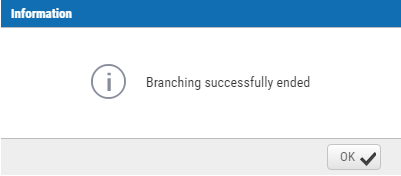
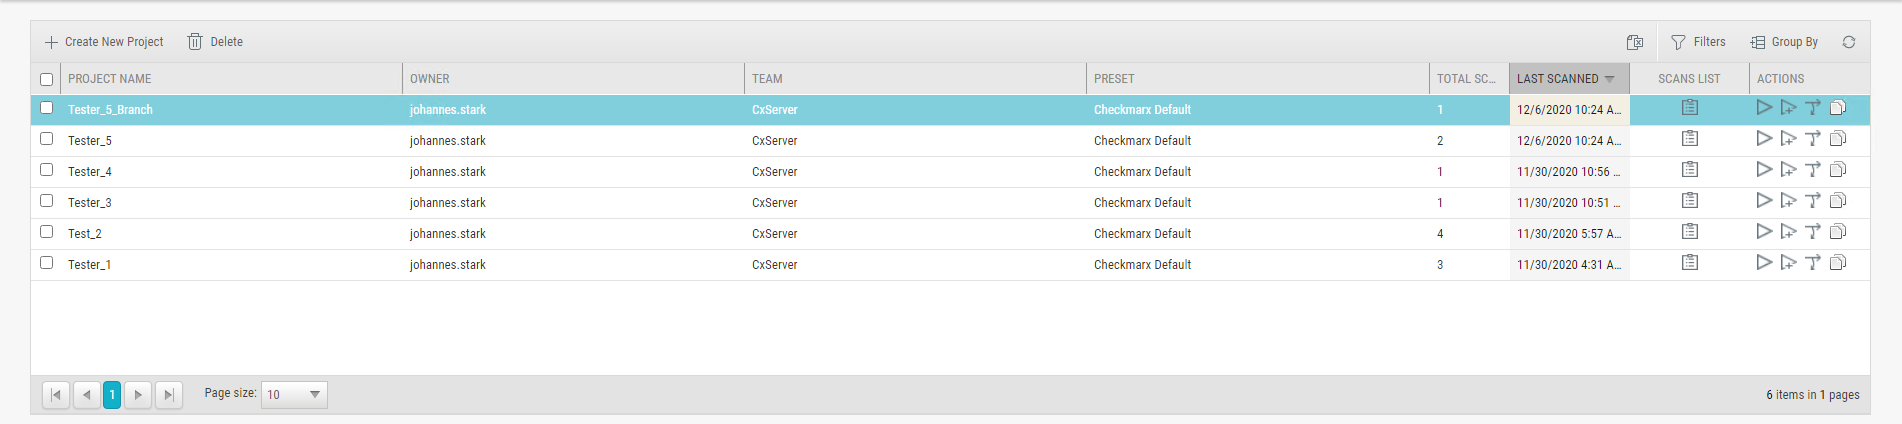
11. Click <OK> to return to the Projects list. The branch is listed in the Projects list.
Branched projects are not counted as additional projects according to the Checkmarx licensing structure. This means that you are not allowed to create new projects once you have reached the maximum project threshold, but you are able to open branches of existing projects without requiring additional licenses.
1. Select the desired project from the list and click Duplicate Project ![]() to start.
to start.

2. Continue following the instructions on creating a new project. Once completed, the new duplicated project appears listed in the Projects list.

.